How to replace the wick of led light
view: 982 Updated: 2022-03-24 12:06
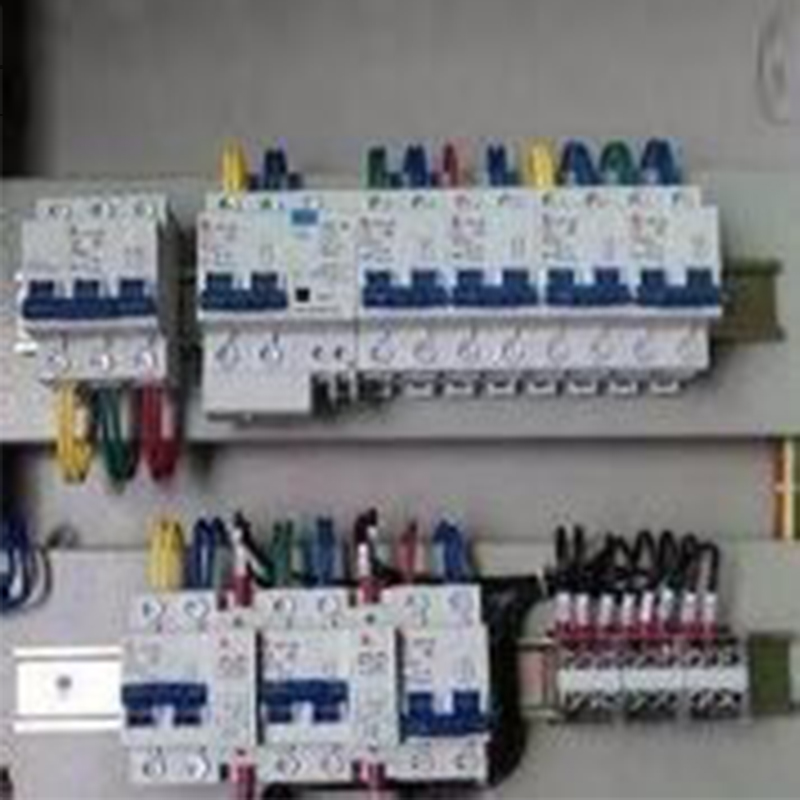
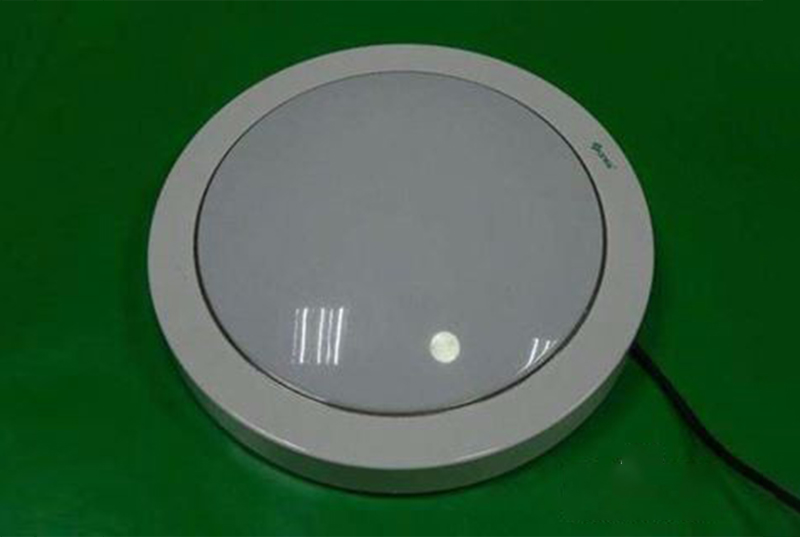
Turn off all the power. In order to avoid damage to the lampshade, be sure to see which type of knob switch is when removing the lampshade, and then slowly remove the lampshade.
Slowly separate the wires connecting the wicks. Be careful not to damage the wires when separating the wires, otherwise it will be more troublesome to repair later. After separating the wires, slowly remove the wick.
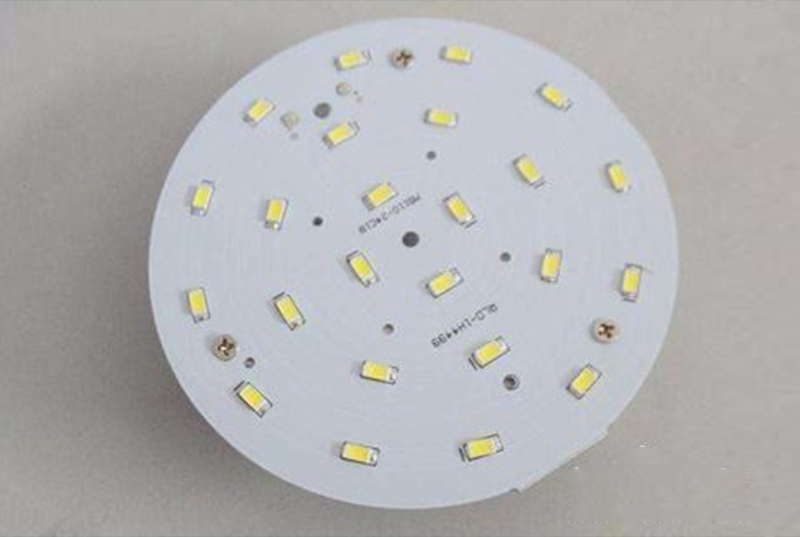
Take the removed wick to the market to compare the appropriate model, and then compare its quality, and finally buy it. It should be noted that it must be the same model. If the model does not match, it cannot be installed after buying it.
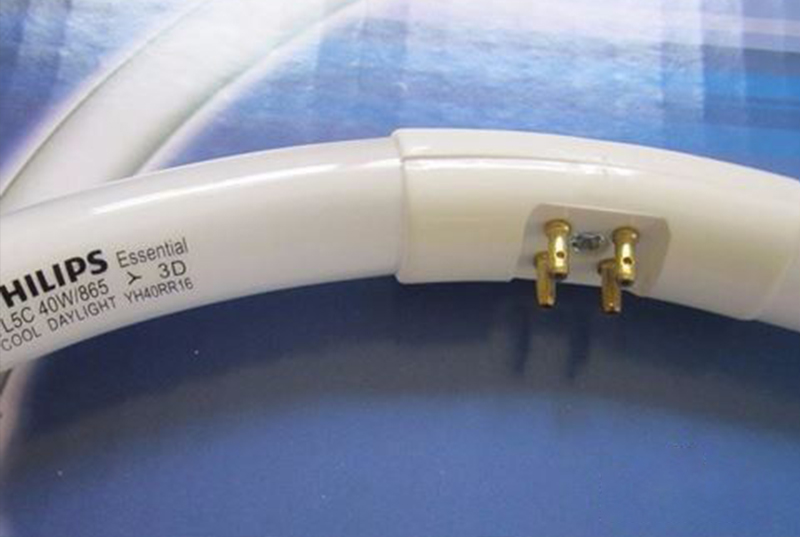
Remove the test wire from the purchased wick. This test lamp wire is generally used to check whether the wick is energized. When we buy it for formal installation, we don't need this wire, so we need to remove it.
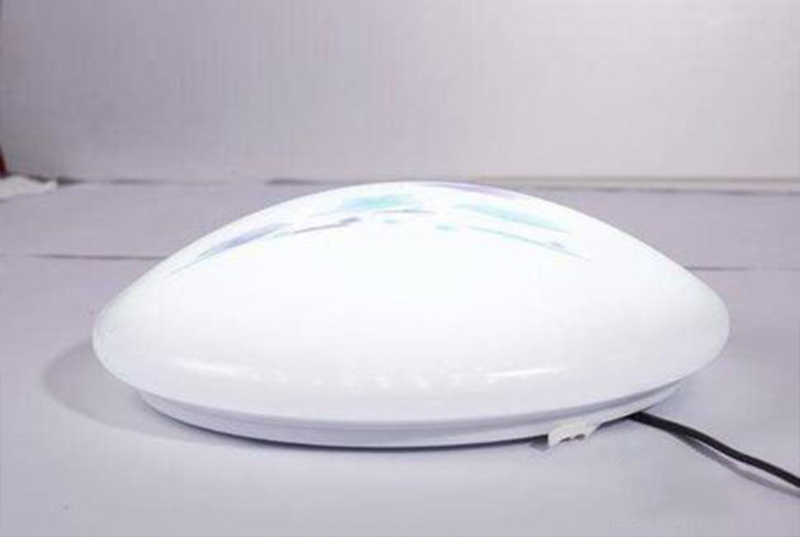
Gently install the purchased wick according to the corresponding position on the ceiling lamp chassis, and fix it with screws, so that the wick is replaced. Finally, cover the lampshade and turn on the power, and the whole wick replacement process is over.
Regarding the price, different brands and different models of wicks have different prices. Generally, the price of wicks of big brands and good quality is almost between USD6.19 and USD10.2. The price of LED wicks of small and medium brands is about USD4.12. Like some very common wicks, you can usually buy them within USD2.04. Therefore, it is still more cost-effective to replace the wick, which is much cheaper than buying a new LED ceiling light, and the ceiling light with the replaced wick will have the same brightness as the new ceiling light.


Leave a comment