DIY lantern lamp
view: 1245 Updated: 2022-05-10 14:50
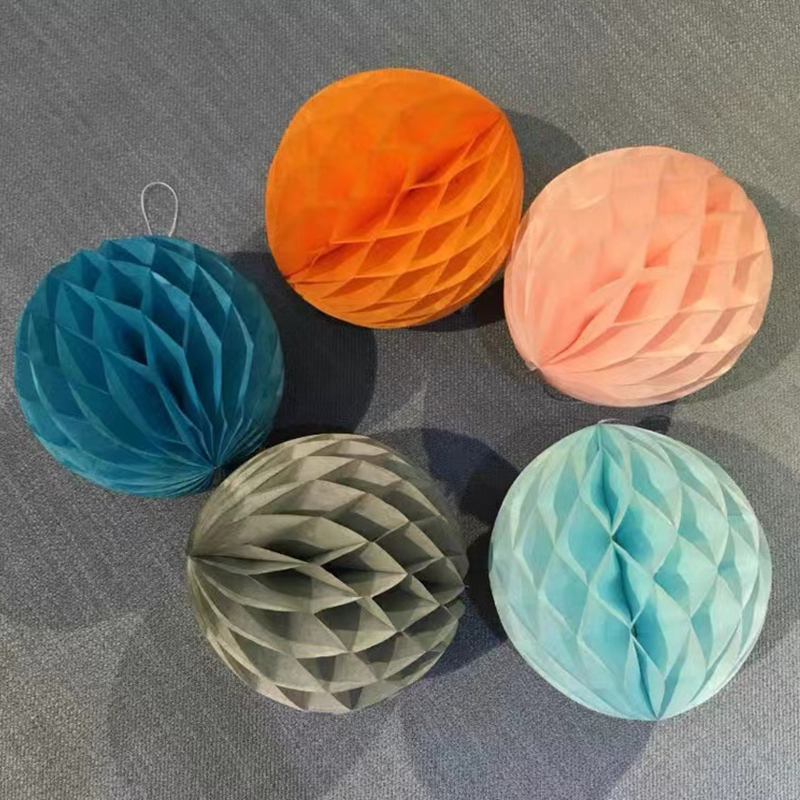
Hello, today is May 10th, 2022, lanterns are hung during the Spring Festival and other major festivals. The big red lanterns are hung at the gate. It is festive and lively, which means that the new year is prosperous. Speaking of lanterns, the most common and classic is the honeycomb. Ball lanterns, every festival, the honeycomb-like lanterns hanging in major shopping malls in supermarkets are honeycomb ball lanterns. They are simple, elegant and exquisite. Don't look at such delicate lanterns, the store can sell dozens or even hundreds of them. In fact, the cost is very cheap. You can DIY lanterns at home with a few cents of paper. Today I will teach you how to learn together.
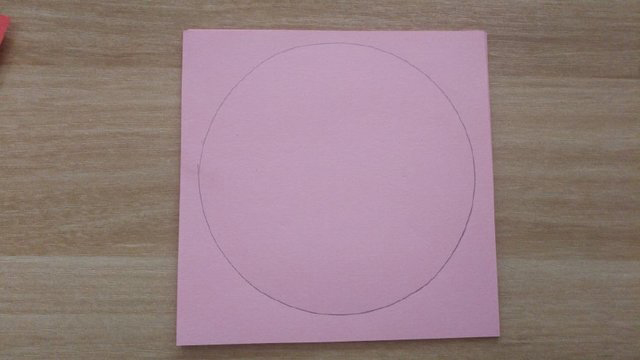
The method is very simple. First, prepare a square piece of paper. Others without squares are also fine. Because we need round paper, it is more convenient to draw with squares. The paper I use for demonstration here is relatively small, 10cm. The lantern is not too big to hold with one hand, so you can use a larger piece of paper, first draw a circle on the paper, and then cut out the circle along the drawing line.
After the paper circle is cut, first fold the paper in half horizontally, then fold the paper vertically, and finally fold it in half to form a fan shape, and then fold the paper in half horizontally.


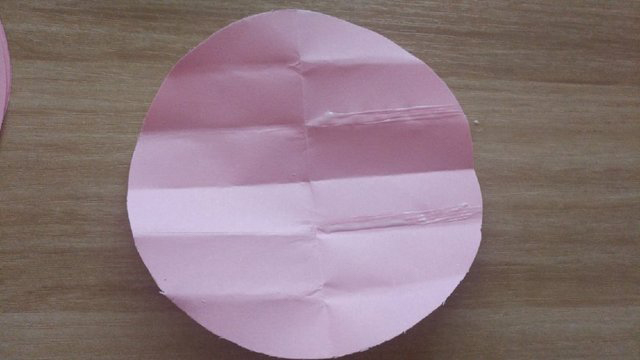
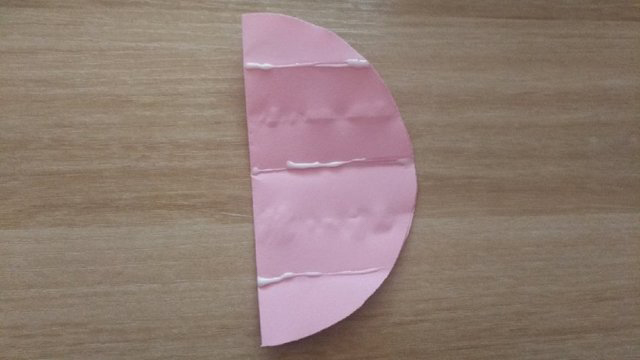
After folding in half, unfold the paper, turn it over to the round side, and then there are 5 creases in total on the right side, then apply glue on the 2nd and 4th creases, and then put the paper left and right. Fold in half.

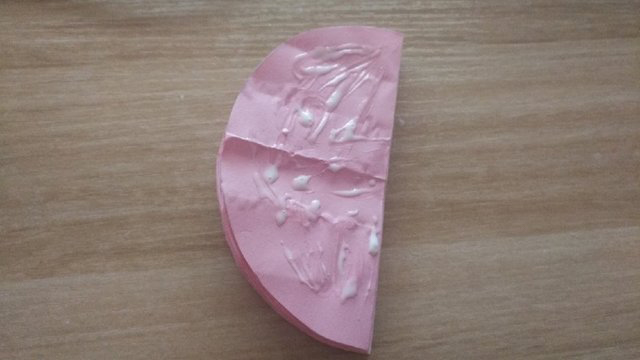
After the previous step is done, then fold the same 18 identical parts, all folded to the final shape according to the above, then apply glue on the 2nd and 4th creases of the paper, and then fold the paper left and right Together. After all 18 are folded, then apply glue on the 1st crease, 3rd crease, and 5th crease on the right side of the paper, then glue the other paper on it, and then a new layer of paper Apply glue to the 1st, 3rd/5th crease and stick all 18 sheets together.
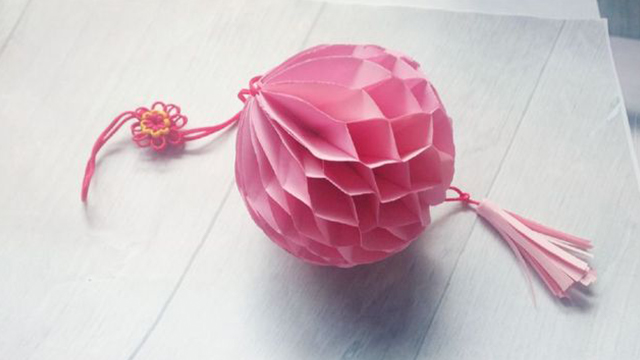
Finally, apply glue on the top, then unfold the paper, and stick the first and last paper together, so that a honeycomb ball lantern is ready.
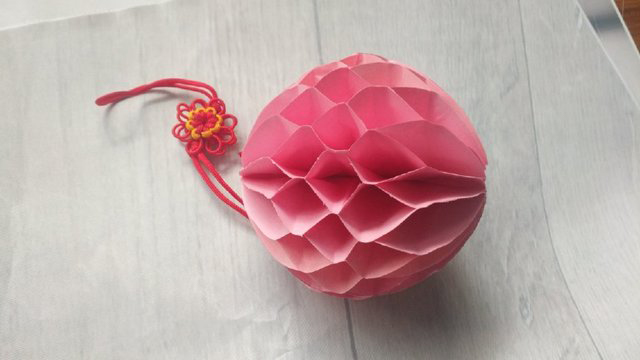
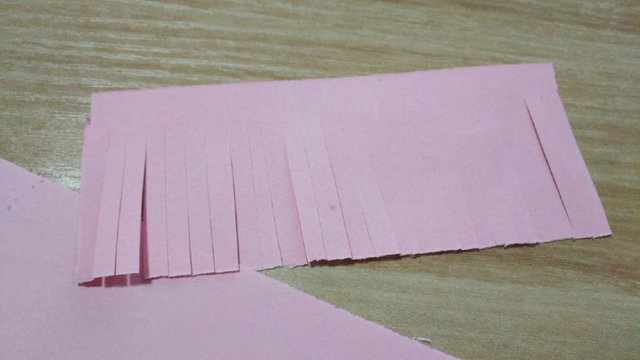
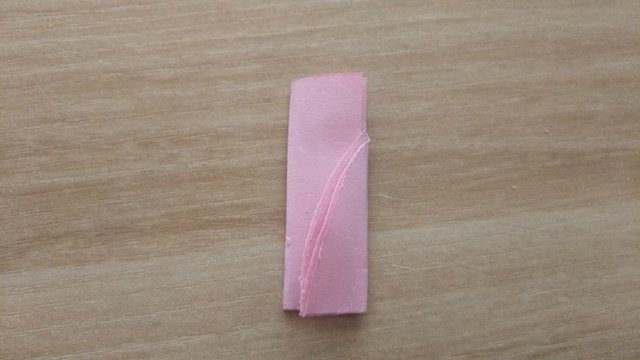
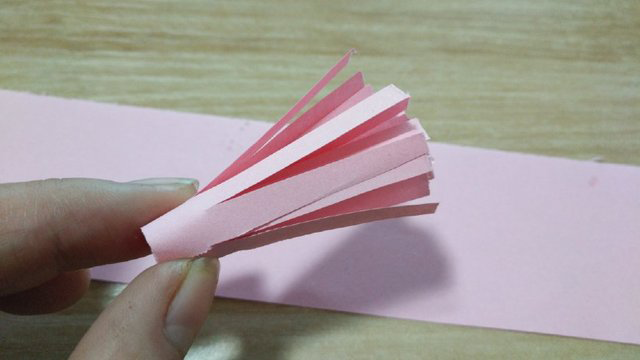
Finally, make the lantern spikes again, take a rectangular piece of paper, use scissors to evenly cut the thin strips one by one, then roll them up, stick them together, and finally tie a rope and hang them on the lantern.
Well, today's honeycomb ball lantern tutorial is all over, have you all learned it?DIY a lamp, Is it very simple? Remember to follow me if you like it!


Leave a comment