How to solder SMD LED lamp beads?
view: 945 Updated: 2021-12-25 10:08
Let's first understand the welding and electrical connection methods.
Solder is a conductive material that melts at about 400 degrees Fahrenheit and allows two pieces of metal to be connected in a circuit. The standard "point-to-point" connection is two leads, assuming that the cathode of one LED and the anode of the second LED are twisted Twisting and soldering together is more effective than simply twisting the leads together. Another common type of solder connection has been found on PCBs and MCPCBs, where conductive traces on the circuit board lead to components that are soldered. And most of the soldering we encounter is using LED lamp beads on MCPCB.
The solder is usually 60% tin and 40% lead and rosin flux core (the center of the solder). The rosin core is worth mentioning because it can remove impurities on the contacts and improve the electrical connection. Basically, it helps the solder stick to the contact pads. Because getting the solder to flow and stick to the surface is sometimes difficult, knowing that the flux is in the center of the solder means that we can help avoid this problem by purposefully melting the center of the solder directly to the surface. This first makes the rosin flux adhere to the surface and helps the solder adhere to the surface.
Are there any tools that can better maintain welding and electrical connections?
Solder: We prefer solder with a tin-lead composition of 60/40 and a thickness of 0.20 mm. This thickness of solder is almost suitable for SMD chips. Iron: With high-quality soldering iron and different sizes of soldering iron tips, it can make any work easier and faster. Many of the problems we see from customers stem from cheap irons and tricks. If the soldering iron is not strong enough or the tip is too small, the surface temperature will never be high enough to make the solder flow evenly. We recommend using at least a 30W soldering iron. These soldering irons can be expensive. If you don’t plan to do a lot of soldering, then the cost will be difficult to justify. There are some cheap soldering irons that are suitable for small jobs, but if you have a lot of soldering work to do, and you want to reduce the trouble and extend the service life, you can buy an expensive soldering iron.
Soldering iron tips: Since not all pad surfaces are the same size, soldering iron tips usually have interchangeable tip sizes; some have fine points, while others have wider wedge-shaped tips. Matching the size of the tip to the size of the surface can make the heating of the pad easier. If the solder cannot flow on the pad, it may be because the tip of the soldering iron is too small to spread the heat to a wide enough area.

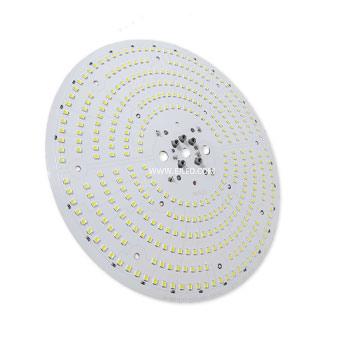
If the high-power LED lamp bead is installed on the heat sink, it makes sense to weld the LED before fixing the LED to the heat sink. When trying to solder to an LED that is already on a heat sink, the heat sink sometimes absorbs all the heat of the iron, and it is almost impossible to heat the surface of the pad.
The process of soldering LEDs is very simple. The size of the wires and LEDs makes it look very intimidating, but it's actually not as impossible as it seems. Watch the video, follow the steps below, take your time, we will be surprised how easy it is.
Step 1-Put the LED into the tweezers. Or, use double-sided tape on the wooden "welded" block to keep it stable.
Step 2-Apply a small amount of tinned flux to the end of the enameled wire and the pad of the LED.
Step 3-Collect a small "solder ball" on the preheated soldering iron tip, and then pass the wire through the solder ball to tin the end. (Hint-keep the tinned area small; it only needs to be as long as the LED pad.)
Step 4-Lay the tinned wire on the LED pad and quickly "touch" the solder ball on the soldering iron tip to On the pad.
Step 5-Load the resistor in the tweezers and repeat steps 2, 3 and 4. Repeat all steps to connect the second wire.
Step 6-Test the LED components and rework the solder joints as needed.
Step 7-Distort the wire pair by "rolling" the component between the thumb and index finger.
Step 8-Apply a layer of enamel to the exposed solder joints to insulate the components.
Is soldering difficult? The process of soldering LEDs is very simple. Remember, the iron is very hot, and LEDs don't like overheating. Please pay attention to the temperature setting on the iron and the time the iron is used on the surface. In most cases, the time for the solder to flow and stick to the surface will not exceed a few seconds.


Leave a comment